消费级
模型手办3D打印机首选,容易操作且打印表现不俗。
The slicing operation of CWS is not only to slice the model into individual layers but also include some configuration information, the most important is the exposure parameters.
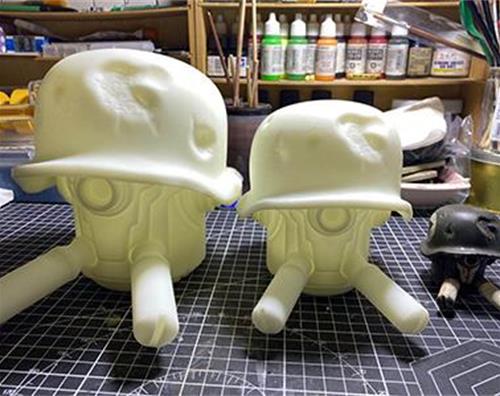
Sometimes the same .cws file, I just want to change the exposure time, but as the current method, it can only be re-sliced. The simple model is ok, but the complex model sometimes need to slice an hour, it is too slow. In fact, there is a simpler way to modify the .cws file directly. Take my soap box for example, the bottom of the soap box printed before is too thin, I want to increase the exposure time of the bottom to make it thicker. The steps are as follows:
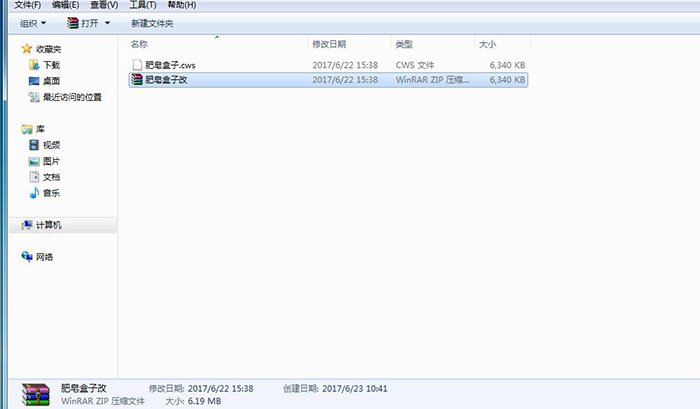
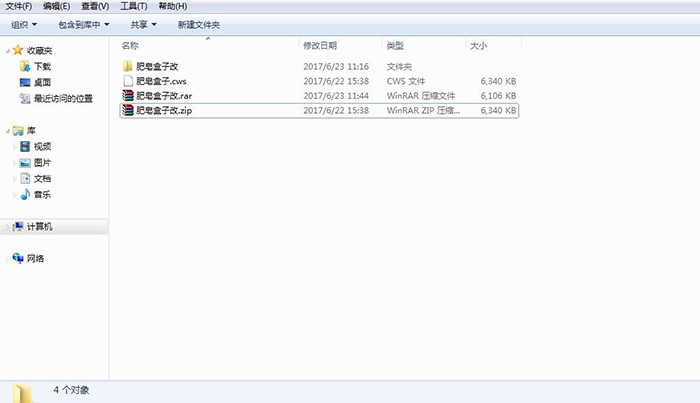
1、Find the .cws file you want to modify, rename it, and change the suffix from .cws to .zip.
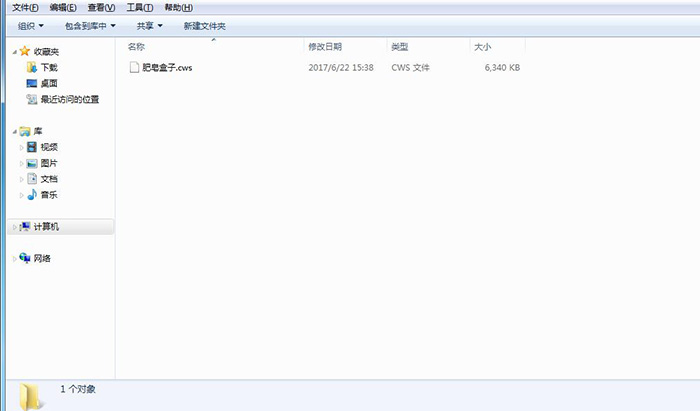
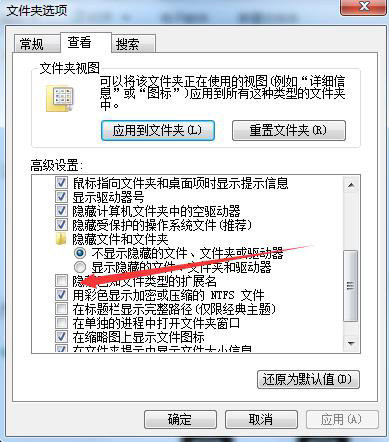
Attention please: some computers do not display the suffix name of the file, so we need to display it. Let's click on the tool at the top of the folder -- folder options -- view, and remove the hook below that hidden the name of the known file type, as shown in the figure.
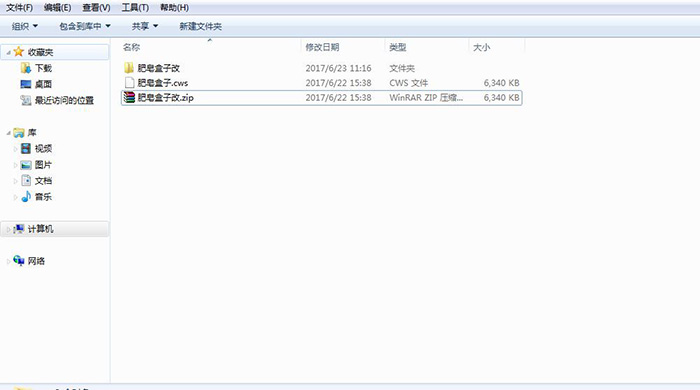
2、Then compressed.
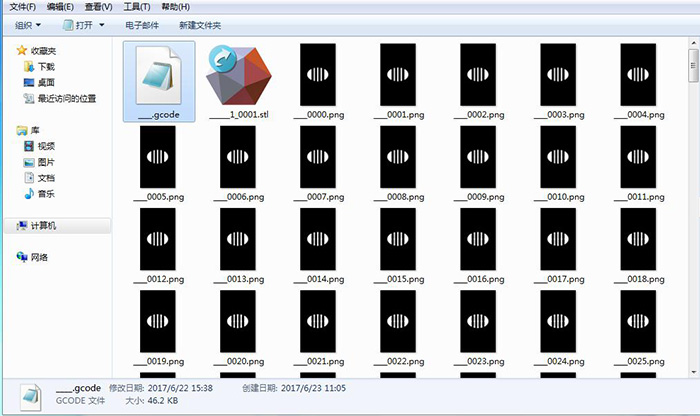
3、Enter the unzipped folder, find the. gcode file, and open it with the notebook that comes with the computer.
The file opened as follows, line by line of code.
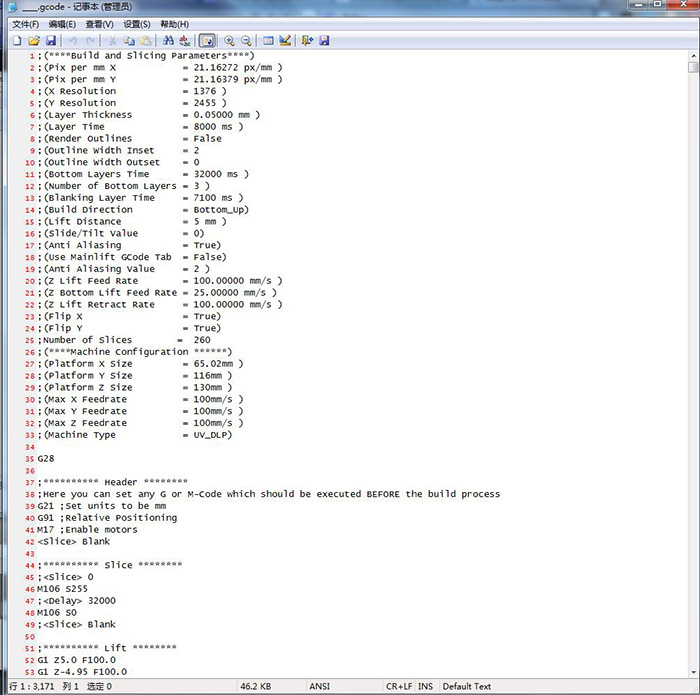
4、Find the statement starting with
Note that the time behind Delay is milliseconds. If your exposure time is 10 seconds, you will see Delay 10000. Also note that the Delay statement here does not distinguish between the bottom layers and the other layers. You need to distinguish them by yourself: the bottom layers are in front, the other layers are in the back, generally there are only three layers on the bottom layers and many ones on the other layers. If you want to confirm the number of bottom layers, you can check the Settings of our company's software.
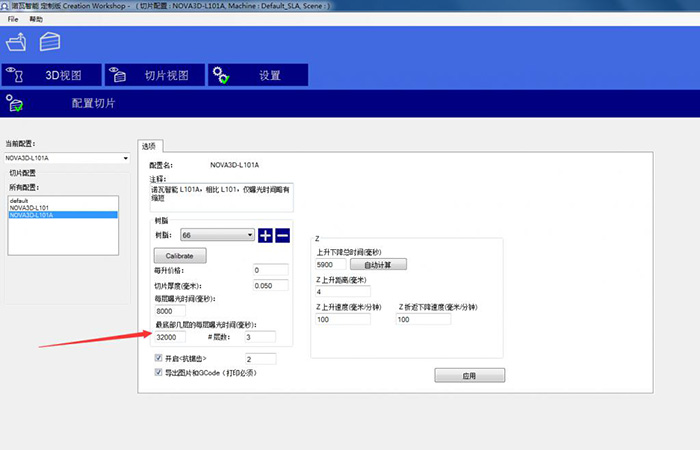
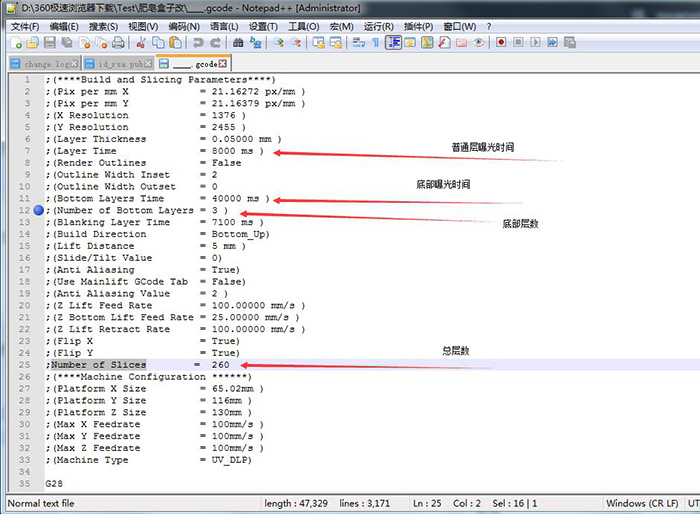
Or it is the most convenient to directly view the file parameters. Number of Bottom Layers is the bottom layers, Number of Slices is the total layers, Bottom Layers Time is the exposure time of the Bottom, and Layer Time is the exposure time of the other Layers.
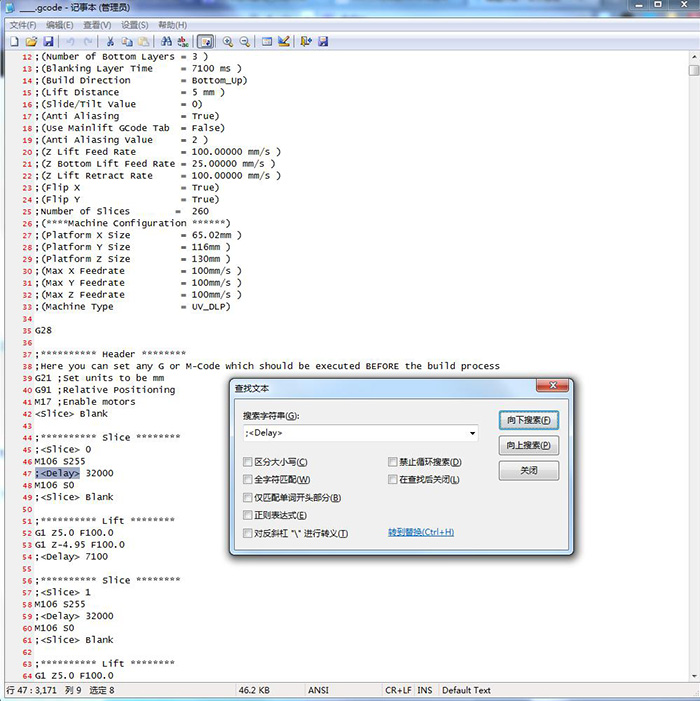
In this way, we can ensure that the replacement data is accurate. We can directly use the shortcut key Ctrl + H to replace, but it is better not to directly replace the number here, because other identical numbers may be replaced, the best is all replacement , so I replaced it here is; 32000, and then click on Replace All, as shown below:
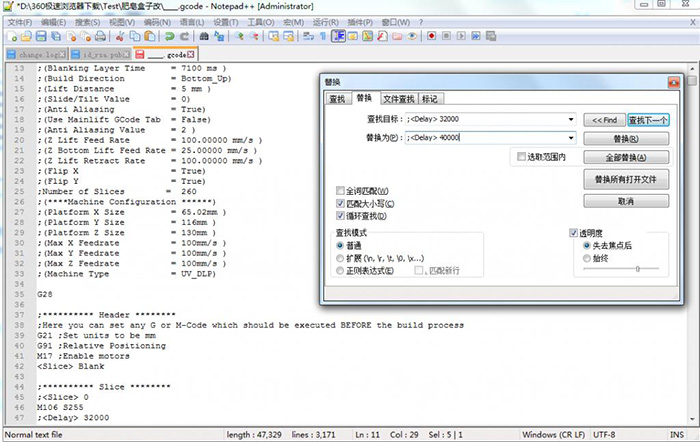
It is better to check by yourself if the number of replacement corresponds to the number of exposure time layers that you want to modify. Here, I only modify the bottom exposure time. There are only three layers on the bottom and the data I modified is also three.
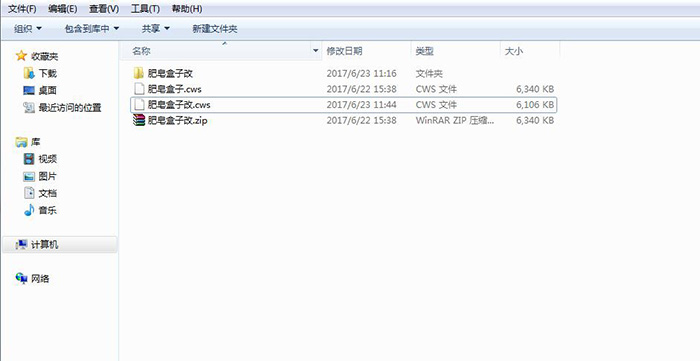
5、Save the .gcode file directly by the shortcut key Ctrl+S, replace the old files in the zip package with new files, or compress the modified folders. Here, I will re-compress the entire folder.
6、Finally, rename the compressed file to a .cws file.
In this way, we can modify the exposure time directly to save the time of re-slicing.
If you have any questions about this document, please leave a comment below, or contact with our customer service directly, we will help you answer them one by one.
Copyright © 2025 深圳市诺瓦机器人技术有限公司 All rights reserved
粤ICP备16089255号,本网站直接或间接向消费者推荐商业产品或服务都是“广告”(包装和参数,售后保证及其他产品信息除外)